Converting Your Pizza Oven to Natural Gas
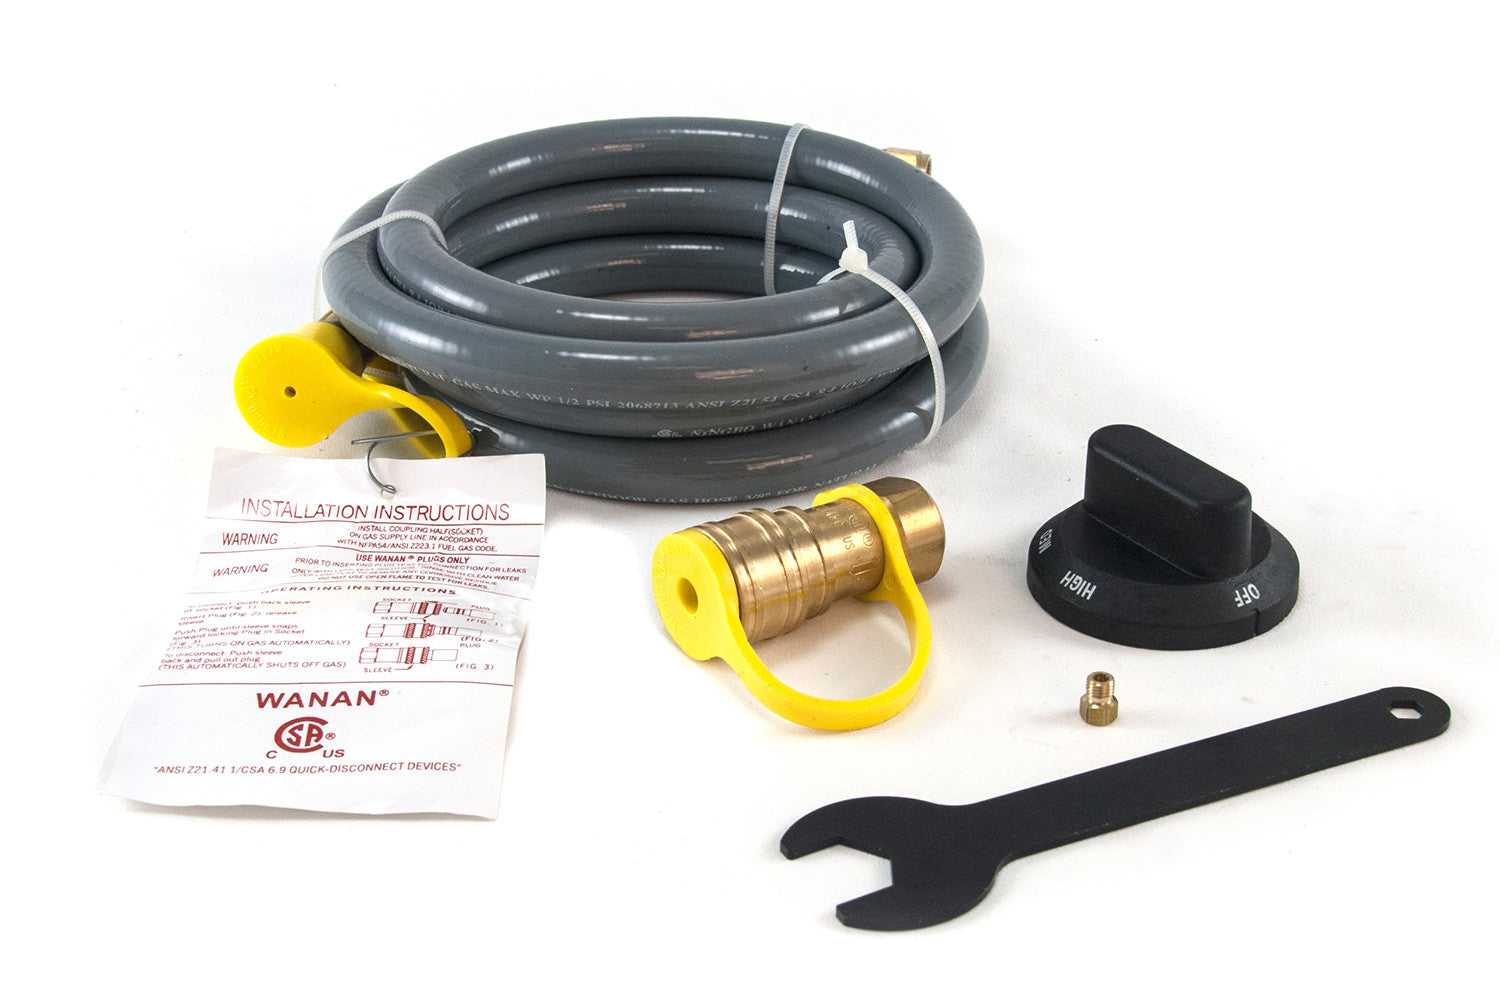
The Natural Gas Conversion Kit for Pizzacraft Pizza Ovens has finally arrived! While the oven was originally designed to run on propane, we’ve put together a five-piece kit to help you maximize your home patio setup and make your pizza oven a more convenient part of your backyard kitchen. In this post, we'll show you the process of converting your pizza oven to natural gas in a few steps.
Now, why convert your oven? Here’s an example scenario: that time you got home and decided to cook up a pizza or two for dinner, but your propane tank was empty. You had to trudge to the store with your empty tank, pay the clerk, and drag that heavy tank back home before you could start. With natural gas there’s a steady, constant supply of fuel ready to use at the twist of a dial. Due to manufacturing processes, natural gas is also cheaper than propane, so in the long run you’ll also pay less to cook your pizzas.
While it may seem like a daunting task, converting your pizza oven to run on natural gas is a fairly simple process that consists of a few simple steps (assuming you’ve already had a licensed plumber set up a natural gas connection on your patio). The only thing you’ll need (that isn’t already included in the kit) is a #2 Phillips head screwdriver. Let’s take a look at six of the core steps taken to convert the oven. We’ve put together this brief guide, but it’s always a good idea to consult the full manual before beginning.

- Starting with a cold oven, remove the oven hood and stones.
- Flip the oven upside-down on your work surface.
- After inverting the oven, you need to remove the fuel delivery system, which consists of the regulator hose (the long flexible hose that connects to your propane tank), the knob, and the gas valve assembly (the piece your temperature control knob attaches to).

- Unscrew the regulator hose from the gas inlet assembly using the wrench.

- Remove the original oven knob by pulling it straight out.

- Remove the inlet assembly from the oven body.

- Unplug the ignition wire.
- Remove the original jet valve inside your gas valve assembly. To do this, use the included jet valve wrench and remove the old jet.
- Replace the removed jet with the new one in your kit, again using the included wrench.

- Unscrew the old jet with the wrench.

- Replace with the new jet, and tighten with the wrench.
- Re-install gas the valve assembly and reconnect the ignition wire.

- Replace the gas inlet assembly into the oven body and reconnect the ignition wire.

- Rescrew the support screws in the knob face and the leg support.

- Place your new knob with natural gas settings.
- Attach your new natural gas hose. Install the hose in the exact same location where you removed the original regulator hose assembly with the large end of your included jet valve wrench.

- Flip your oven over and attach your new hose.
With your new natural gas conversion, you’ll be one step closer to making your backyard pizza oven a permanent fixture. This kit is perfect for combining with our Pizzeria Pronto Leg Kit, which brings the oven to a comfortable operating height without the need to set the oven on a table. Think of how impressed your guests will be when they see you’ve got a pizza oven built right into your backyard!
Leave a comment
Please note, comments must be approved before they are published